pi camera 5mp
Raspberry pi original camera 5 million pixels and B raspberry pie perfect blending
Lynx absolute monopoly of imported quality assurance
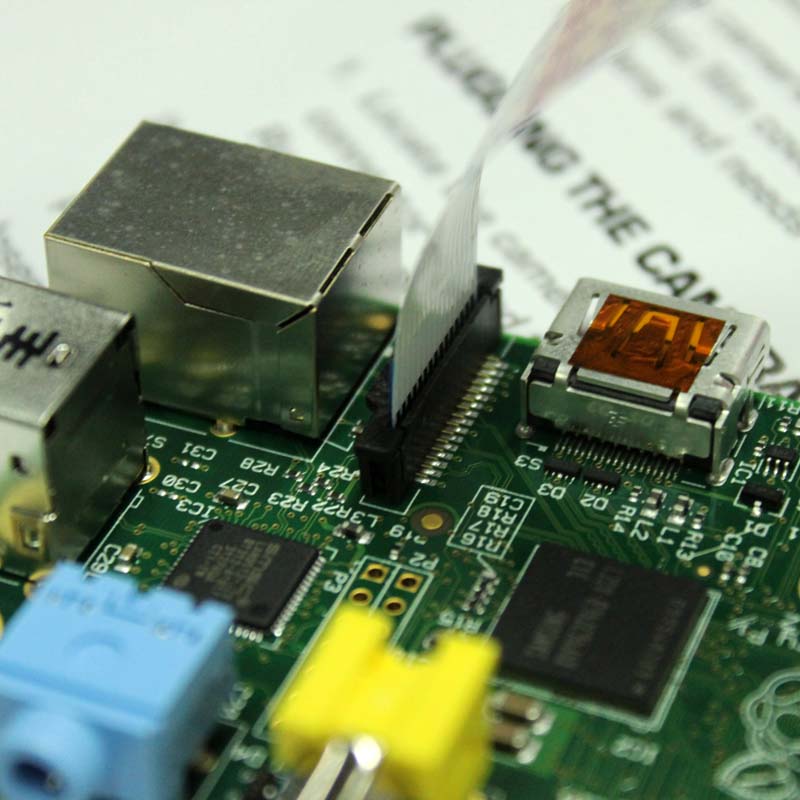
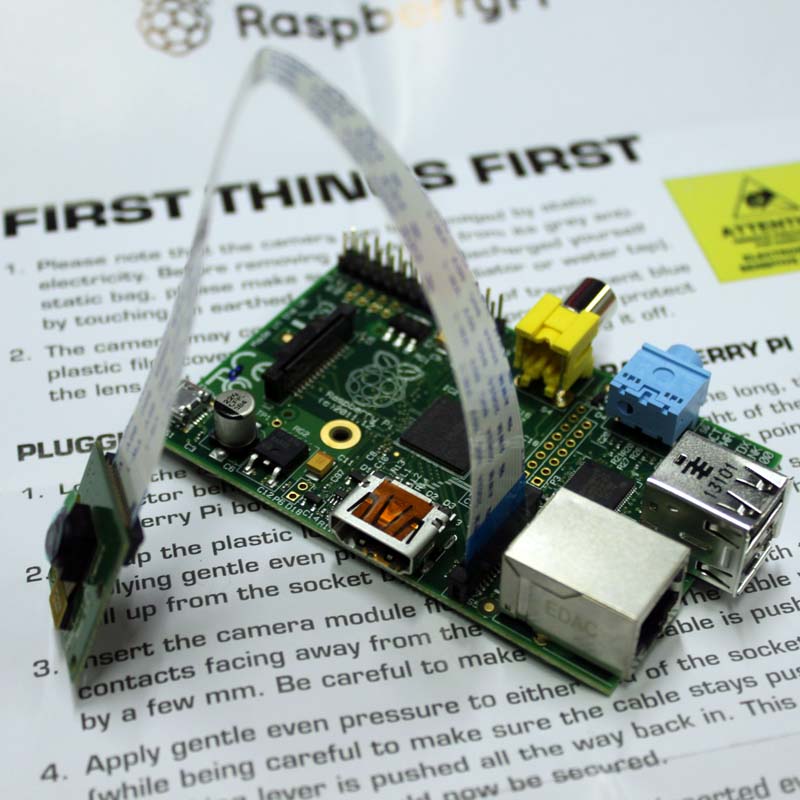
Connection:Connector position: 90 degrees vertical connector , HDMI port next to it. When connecting the contact side facing HDMI Interface
Software :
. 1 RPi firmware and raspi-config has been updated to the camera , do a apt-get update; apt-get upgrade;
2. Raspi-config , select the camera, start RPi firmware camera driver, and then restart
3 Use the command-line program raspivid and raspistill operate the camera to capture video clips or images
4 to capture video clips need to play with mplayer
How will the data broadcast by the network camera live out :
By nc command (ncat — Concatenate and redirect sockets) camera input data directly to achieve the output redirected to a network port
The following is a detailed description of
How to enable camera support in Raspbian
Boot up the Pi and log in The default username is pi, and the default password is raspberry (Note: if you have changed these from the default then you will need to supply your own user / password details)…
Run the following commands in a terminal to upgrade the Raspberry Pi firmware to the latest version:
sudo apt-get update
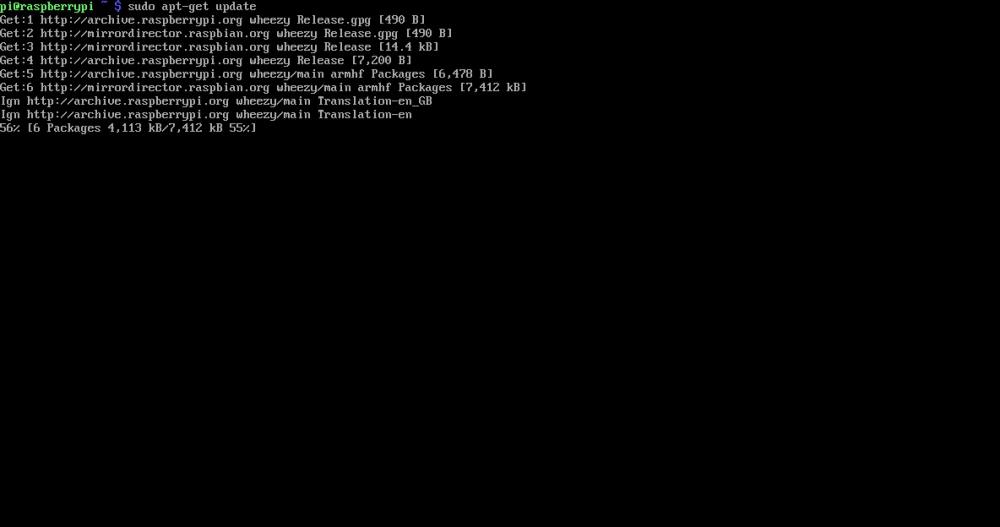
Click to enlarge
sudo apt-get upgrade
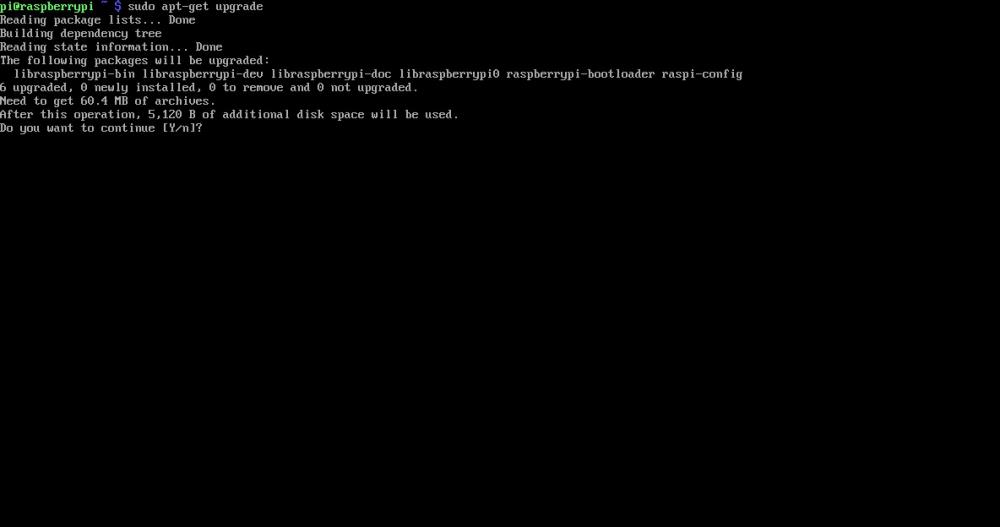
Click to enlarge
Access the configuration settings for the Pi by running the following command:
sudo raspi-config
Navigate to \»camera\» and select \»enable\».
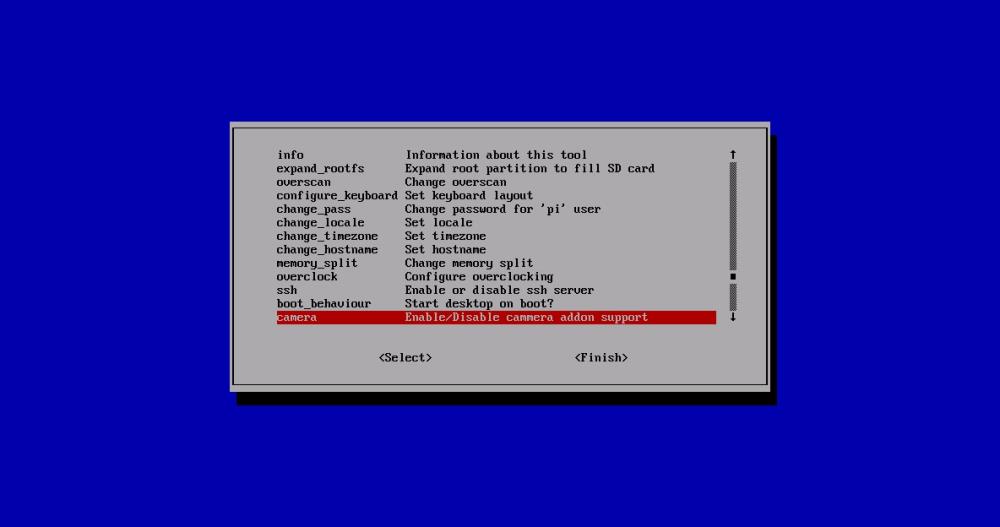
Click to enlarge
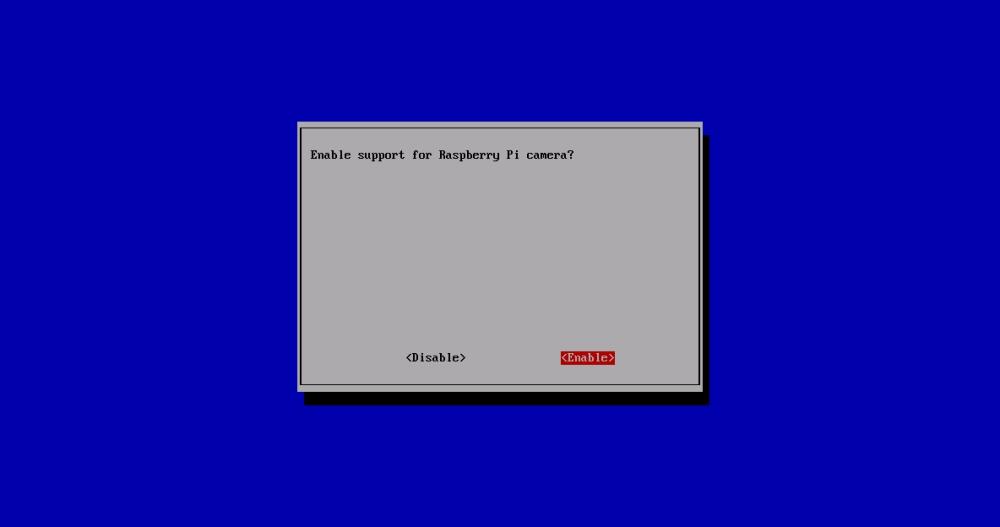
Click to enlarge
Select \»Finish\» and reboot.
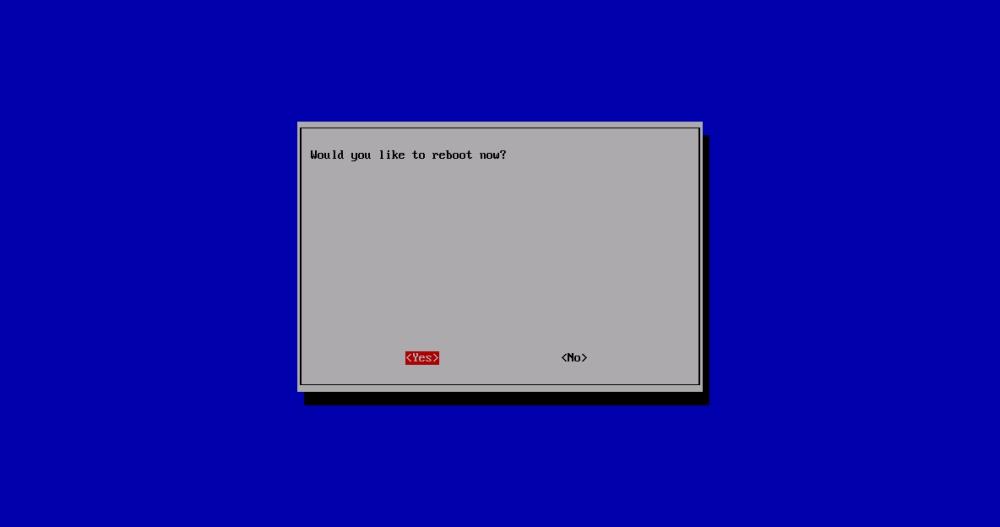
Click to enlarge
How to use the Raspberry Pi camera software
raspivid is a command line application that allows you to capture video with the camera module, while the applicationraspistill allows you to capture images.
-o or-output specifies the output filename and-t or-timeout specifies the amount of time that the preview will be displayed in milliseconds. Note that this set to 5s by default and that raspistill ; will capture the final frame of the preview period.
-d or-demo runs the demo mode that will cycle through the various image effects that are available.
Example commands
Capture an image in jpeg format:
raspistill-o image.jpg
Capture a 5s video in h264 format:
raspivid-o video.h264
Capture a 10s video:
raspivid-o video.h264-t 10000
Capture a 10s video in demo mode:
raspivid-o video.h264-t 10000-d
To see a list of possible options for running raspivid or raspistill, you can run:
raspivid | less
raspistill | less
Use the arrow keys to scroll and type q to exit.
Extended documentation is available.
Note that we recommend that you change SSH password if you are using a camera, in order to prevent unwanted access.
How to stream video from the Raspberry Pi camera over a network
To view the feed on Linux
Install the dependencies by running the following in a terminal:
sudo apt-get install mplayer netcat
Find your IP address by running ifconfig. (Your IP address will be listed in the console output and will probably be of the form 192.168.1.XXX).
Run the following command in a terminal to view the feed using MPlayer:
nc-l-p 5001 | mplayer-fps 31-cache 1024 —
To view the feed on Windows
Install and run Linux instead.
Find your IP address by running ipconfig. (Your IP address will be listed in the console output and will probably be of the form 192.168.1.XXX).
Download MPlayer.
Download Netcat.
Raspberry Pi HD Camera Board V2
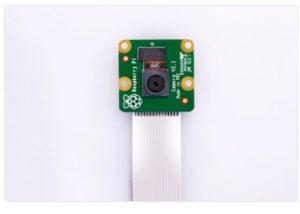
The Raspberry Pi High Definition (HD) Camera Board connects to any Raspberry Pi or Compute Module, allowing you to create HD video and still photographs.
It utilises the IMX219PQ image sensor from Sony which offers high-speed video imaging and high sensitivity.
The Raspberry Pi Camera Module offers reduced image contamination such as fixed pattern noise & smearing. It also features automatic control functions such as exposure control, white balance & luminance detection.
Features and benefits:
High-quality imagery
High data capability
8 megapixels fixed focus
Supports 1080p, 720p60 & VGA90
Sony IMX219PQ CMOS image sensor
15-pin ribbon cable
Connecting the Camera Module to Pi:
A 15 cm ribbon cable attached to the module slots straight into your Pi Camera Serial Interface port (CSI). Once connected, you can access the camera board via the Multi-Media Abstraction Layer (MMAL) or the Video for Linux (V4L) APIs. Alternatively there are libraries such as Picamera Python, and many others that you can find online.
Product Applications:
The Raspberry Pi Camera Module is ideal for HD videos and still photography. You can also try time-lapse and slow-motion.
Other applications include botanical, wildlife watching & home security.
Pi Camera Night Vision
Features
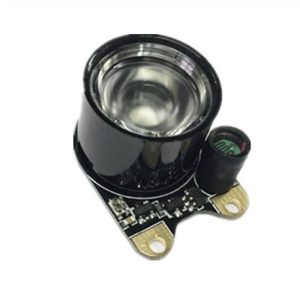
Package Contains
Pi Camera module Night Vision
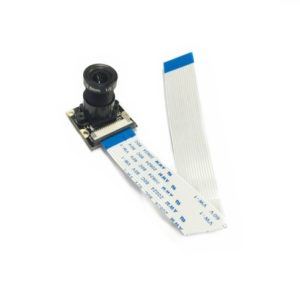
pi camera fisheye
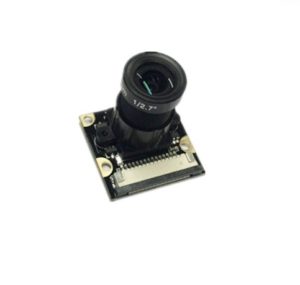
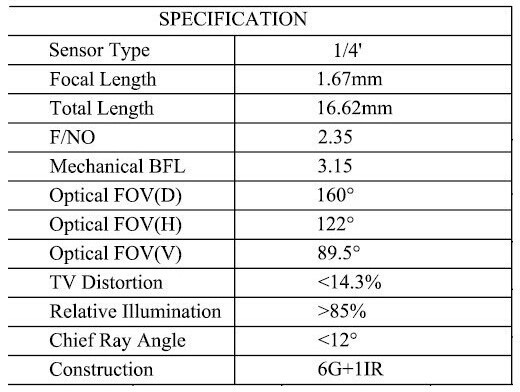
Raspberry Pi 3 Night Vision Fisheye Camera 5MP OV5647 130 Degree Focal Adjustable Camera + Camera Acrylic Holder Bracket for Raspberry Pi 3 Model B Plus
Note
When the night vision camera is working during the day, the image will be pink. This is not a product problem.
Introduction:
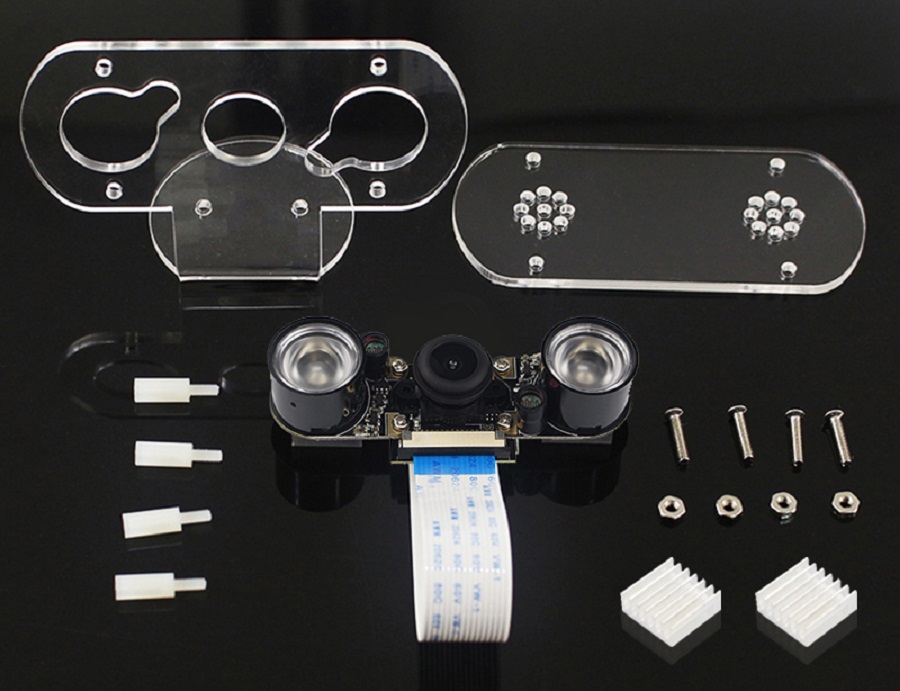
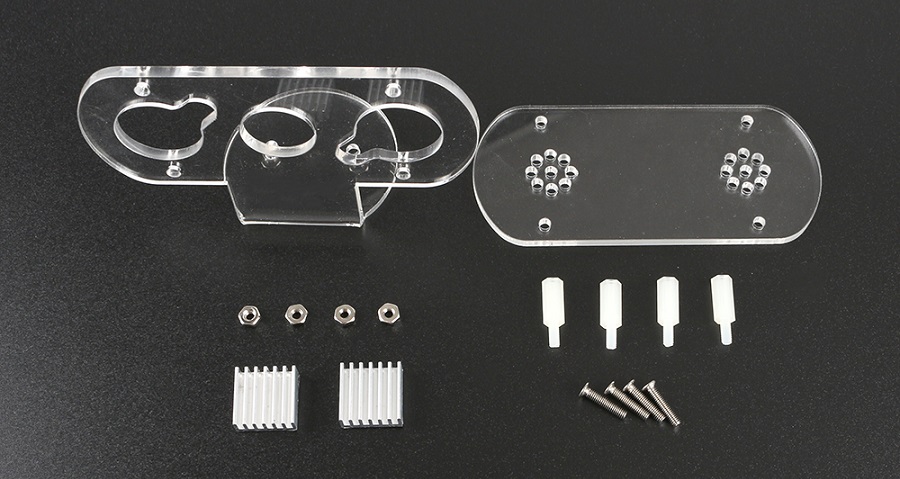
This is new Raspberry Pi night vision camera with 5MP, 130 degree, focal adjustable. The camera can be used as webcam, surveillance camera, security camera and other use. The holder bracket is made of acrylic, convenient to use the camera with the holder. To solve the overheating problem, we provide 2 aluminum heat sink, which install on both sides of IR light.
Specification:
Sensor: OV5647 Best resolution: 1080P Degree: 130 Dimension: 25mm x 24mm Aperture (F): 2.9 Focal Length: 3.6mm adjustable focal length Night vision shooting distance 1 — 2 meters Dimension: 25mm x 24mm
Packing list
Bundle 1
1.Camera Acrylic Holder Bracket with heatsink
Bundle 2
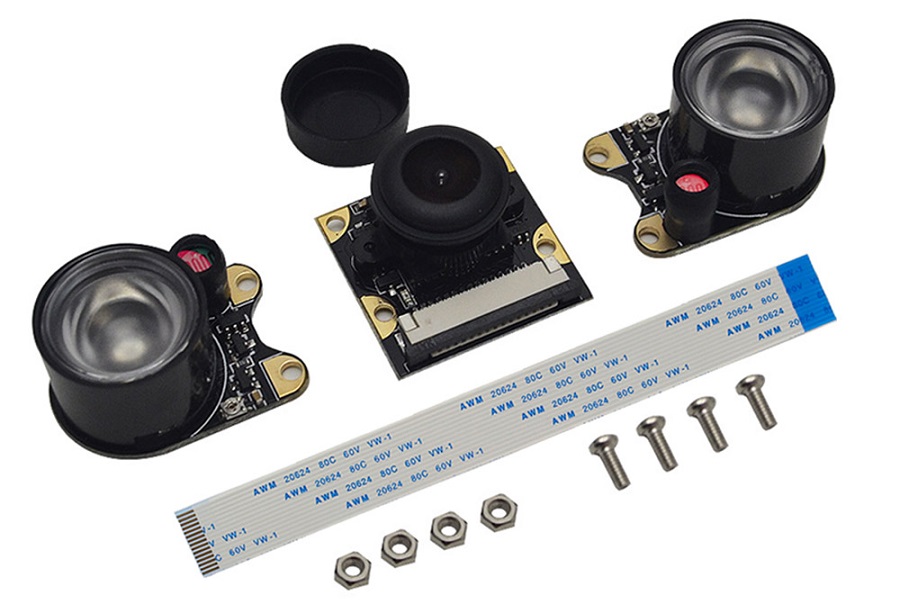
1.Night Vision Fisheye Camera
Bundle 3
1.Camera Acrylic Holder Bracket with heatsink 2.Night Vision Fisheye Camera
